Playlist
Show Playlist
Hide Playlist
Intubating the Patient – General Anesthesia
-
08 -General Anesthesi.pdf
-
Download Lecture Overview
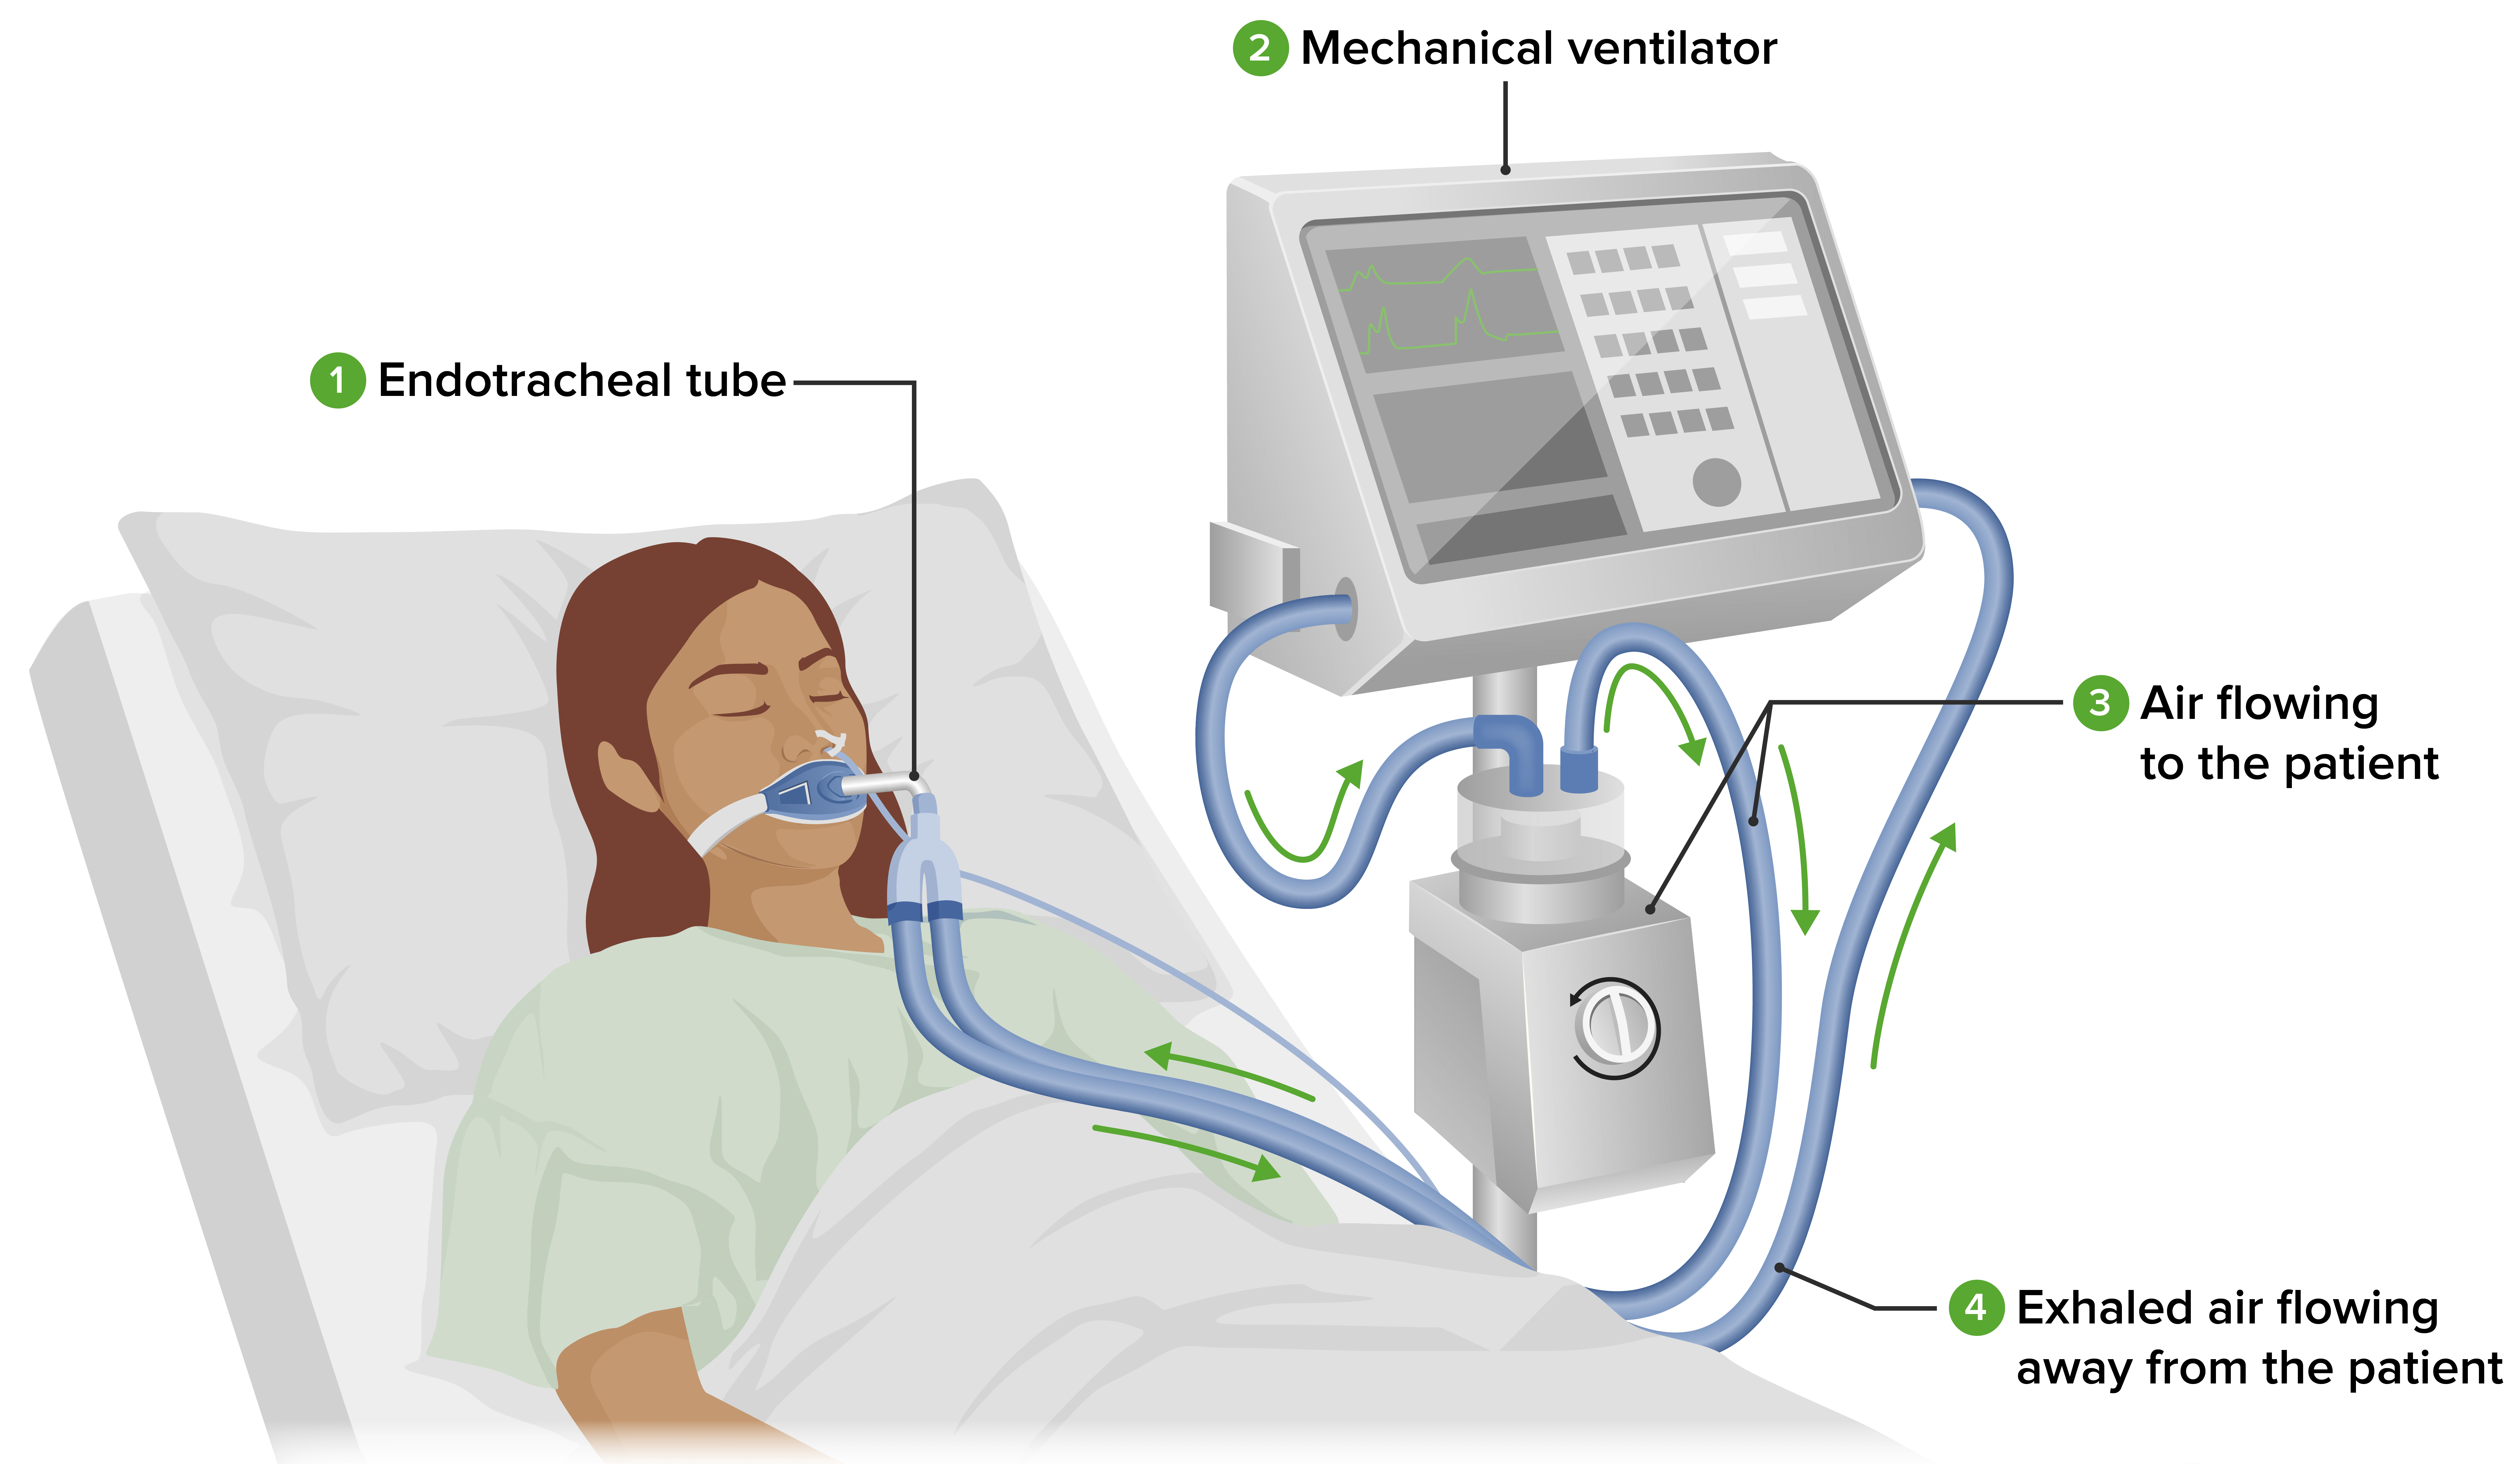
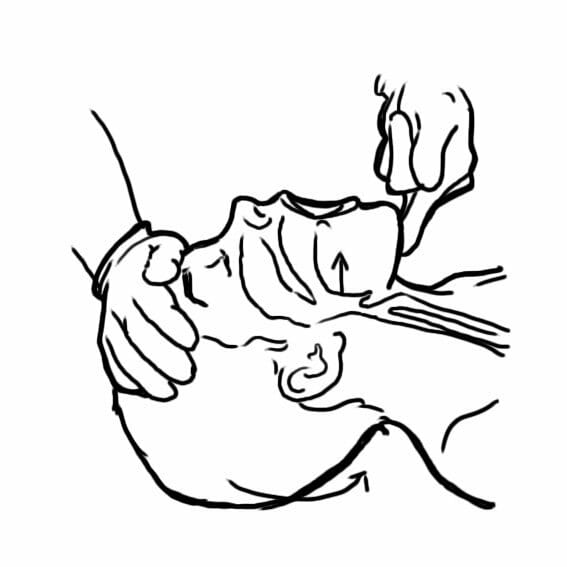
00:01 This is the position we get the patient in before we intubate. 00:06 We try to flex at the lower cervical spine. 00:12 Down at C6-C7, flex forward, and then extend that C1- C2. 00:17 This is known as the sniffing position. 00:20 You have to adjust that pillow one to the head, sometimes underneath the shoulders to lift the shoulders to improve the extension, to get a good airway. 00:32 You should always have something under the head. 00:35 One of the fallacies of people who don't intubate frequently is that they throw the pillow across the room to get it out of the room. 00:42 And then an anesthesiologist has to come in, put it back and intubate the patient. 00:47 The laryngoscope is placed on the right side of the mouth, avoiding touching the teeth. 00:54 It pulls the tongue to the midline, and it's lifted. 00:57 To never ever do you turn your wrist when you're doing this. 01:02 You put the laryngoscope in and you lift, And the lifting lifts the tongue and the mandible, and allows the cords to be seen. 01:10 You can see in this example, the cords are very easy to see. 01:14 And that's a dream intubation. That's going to be very easy to do. 01:18 So in this situation, you can see how difficult you can make things by positioning the patient incorrectly. 01:26 In the picture on the left, the patient doesn't have a pillow. 01:30 I just finished mentioning how important that is, but you can see what's happened here is the next to flexed. 01:36 The lower part of the neck is kind of pushed forward and you can't get good at lateral occipital extension. 01:42 In the second picture, it's better. 01:46 And there should be a fairly straight line from the mouth down the airway. 01:52 And that you can see in the third picture, there's a fairly good view but it could be argued that this is too extended. 02:01 That they've extended the whole neck rather than just the lateral occipital area. 02:09 So, the Macintosh blade, the curved blade should be positioned anterior to the epiglottis in the valleculae, that's the base of the tongue, and should not contact the epiglottis. 02:20 The Miller blade, the straight blade, on the other hand actually lifts the epiglottis. 02:24 And you can see that in the picture to the right of the Macintosh blade, it actually lifts the epiglottis. 02:32 And there's some hemodynamic changes that can occur when you do that, particularly vagal stimulation. 02:37 So you can get bradycardia, and things that I’d just as soon avoid, so I don't use a straight blade. 02:44 This is what you should see. 02:47 The endotracheal tube is at the top. 02:49 You can just kind of see that shiny device above the epiglottis. 02:54 The epiglottis is that organ sticking out towards you and it's all lifted up and you're looking right down at the cords. 03:01 Easy to incubate that. 03:05 This position where you're looking at the cords it can be then further categorized according to its Cormack-Lehane classification. 03:16 And the ideal position is a Class I, which is perfect view of the cord, you're looking right at the arytenoids, which are the the little bumps at the bottom of the slide just at the bottom of the cords. 03:30 And you're looking right down the airway, That's the ideal position. 03:33 And you should be able to intubate in that situation very quickly and easily. 03:37 Class II is also pretty good. You've got a little less of a view, You've got the epiglottis coming down. 03:44 A little bit over the cord. 03:45 So you're losing the top of the cords, but you're still seeing 50% of the cords and you should be able to intubate. 03:52 It's when you get to III and IV that things become more difficult. 03:55 With a Class III airway, you may see a little bit of the airway. 04:00 And what this is where a bougie sometimes helpful because you can slide the bougie underneath that epiglottis and get it in through the cords and then pass the tube down over the bougie but this is a difficult situation and then the worst is Class IV, where you can't see the airway at all all you can see is epiglottis. 04:20 Sometimes what you see is the epiglottis kind of stuck to the posterior pharyngeal wall and it just won't move. 04:26 And this is where you're getting into trouble with the intubations. 04:30 So this is how we can use an LMA to intubate a patient. 04:34 We can either use a standard LMA and pass a narrow gauge tube down it about a 6 and it's a tight fit. 04:43 I've done this, and it's a tight fit, but you can get it down you should use the fiberoptic scope to look and make sure that the end of the laryngeal mask is actually adjacent to the cord, so you can see where you are. 04:55 Because as I mentioned earlier, even with the LMA is out of position you can sometimes ventilate. 05:01 Okay. 05:02 And with the bronchoscope you can tell exactly where you are. 05:05 So you could force a tube down through that. 05:08 With the intubating LMA or the Fastrach LMA, it comes with a size 8 endotracheal tube that is made of silastic, which is a plastic material that slides more easily. 05:24 It's got a bigger barrel than a standard LMA and you can get the 8 tube through. 05:30 So, particularly for a man, that's a better size than a 6. 05:34 A 6 is small for a man or woman. 05:37 So, this is intubating through the nose. 05:42 And it's interesting, when you pass a tube down through the nose after you've prepared the nose, as I mentioned earlier, sometimes you don't have to do much of anything to guide it towards the curve. 05:52 The natural shape of the endotracheal tube is such that you can often just push it down, look through the mouth and you'll see the tube coming past the palate into the oropharynx, and it comes forward very nicely right through the cords. 06:08 If it doesn't, you use this right ankle forceps called a Mcgill forceps to lift the tube end the tip of the tube and direct it down through the cords. 06:17 So this is intubation using fiberoptic bronchoscope both orally on the left side of the diagram and nasally, on the right side of the diagram. 06:28 And it basically just shows how the fiberoptic scope is passed down through the airway. 06:34 And then the tube is slid down off the scope, keeping the scope in place until you've got the tube down off it and into the airway. 06:42 And then you can remove the scope, check for position of the tube, and hopefully, you'll be home free. 06:49 This is what the cords look like through a bronchoscope. 06:51 Look basically the same as the way they looked just using a Macintosh blade. The only thing is you're closer. 06:57 You can see you're a little bit closer. 06:59 And if you were doing an awake intubation, this is where you would spray a little bit of lidocaine on the cords before you pass the bronchoscope any further. 07:09 And then this picture you can see the endotracheal tube going underneath the epiglottis, and through the cords. 07:15 And that's what you should be able to see once you've intubated and you have another look just to make sure you're in the right place.
About the Lecture
The lecture Intubating the Patient – General Anesthesia by Brian Warriner, MD, FRCPC is from the course Anesthesia.
Included Quiz Questions
What is the “sniffing position“ characterized by?
- Extension at the C1–C2 spine and flexion at the C6–C7 spine
- The position in which the mask feels most tightly applied to the face
- The position that aligns the airway so that the trachea is pushed posteriorly in the throat
- The position to be avoided during intubation
- The position used to do a regional block
What does the Cormack–Lehane score refer to?
- The ease of visibility of the vocal cords during attempts to intubate
- The size of the mouth and the relationship of the uvula to the oropharynx
- The length of the endotracheal tube that should be used in each patient
- The likelihood that the patient will have postoperative nausea and vomiting
- The patient's dentition
How should the Macintosh blade be positioned?
- Anterior to the epiglottis
- Posterior to the epiglottis
- Lateral to the epiglottis
- Anterior to the vocal cords
- Posterior to the vocal cords
How should the Miller blade be positioned?
- Posterior to the epiglottis
- Anterior to the epiglottis
- Lateral to the glottis
- Near the epiglottis
- Posterior to the vocal cords
In the ideal position for intubation, which structure can be viewed?
- Full view of the cords and arytenoids
- Only the arytenoids
- Only the vocal cords
- Full view of the vocal cords only
- Half of the vocal cords
According to the Cormack–Lehane airway classification, which class is MOST difficult to intubate?
- Class 4
- Class 1
- Class 2
- Class 3
- Class 5
Customer reviews
5,0 of 5 stars
| 5 Stars |
|
1 |
| 4 Stars |
|
0 |
| 3 Stars |
|
0 |
| 2 Stars |
|
0 |
| 1 Star |
|
0 |
Correct and complete explain of the tecnique of intubation. I think you should include the criteria for intubation by ATLS.


