Playlist
Show Playlist
Hide Playlist
Examination of the Foot and Ankle

-
Reference List Physical Examination.pdf
-
Download Lecture Overview
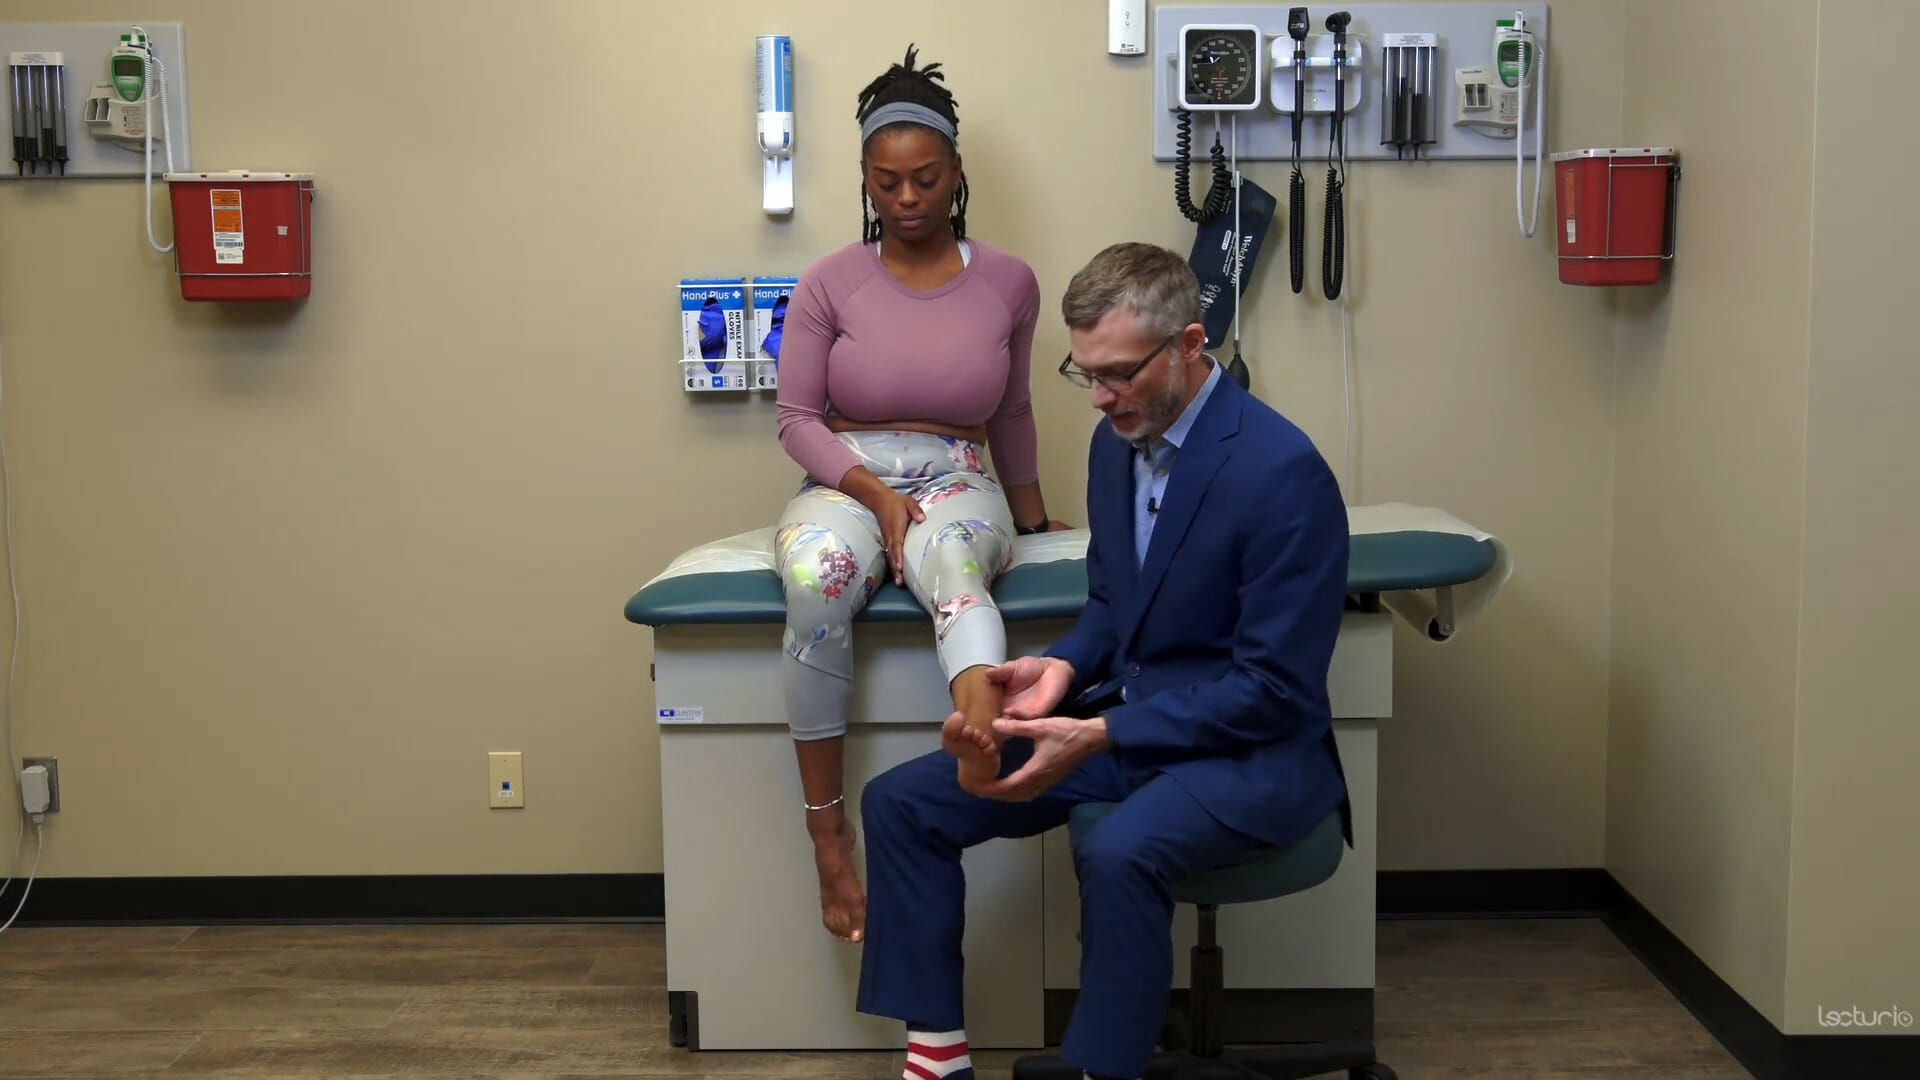
00:01 All right, so now we'll jump into the examination of the foot and the ankle, and we'll start off by just doing a quick review of some of the gross anatomy here and doing some inspection at the same time. 00:10 So we've got the medial malleolus and the lateral malleolus. 00:13 This is our first MTP, metatarsal pharyngeal joint. 00:17 And then on the other side is our 5th MTP, which if you bring your thumb down the lateral margin of the foot, you'll feel a prominent, a little bony prominence there. 00:26 And that's the 5th metatarsal, which is an important structure to identify, as we'll see later on. 00:31 The posterior calcaneus is back here and we'll be taking a closer look at that as well. 00:38 And of course, you've got PIPs and DIPs and MTPs just like we do with the hand for all of the digits. 00:44 So let's just take a look at strength testing first. 00:48 So I'm going to have you just dorsiflex your foot. 00:50 Perfect. 00:51 Now, remember, back with our neuromuscular exam, that dorsiflexing the foot is the L4 nerve root, So a person who has an L4 radiculopathy may have weakness with dorsiflexion of the foot and end up having what's called a foot drop or the foot kind of drags behind them when they're walking. 01:07 And then in contrast, I want you to push down with your foot. 01:09 So that's testing L5 and S1 nerve roots and essentially the integrity of the Achilles tendon posteriorly. 01:16 In addition, we can do strength testing by doing inversion of the foot. 01:20 Inversions that way, and I'm going to resist you. 01:22 So resisted inversion of the foot is going to involve the inverters of the foot. 01:27 And in particular we're talking about the posterior tibial tendon back here. 01:32 If a person has tendinopathy involving the posterior tibial tendon, it's going to hurt when we do have resisted inversion. 01:38 In contrast, push your foot out. 01:40 Resisted eversion is testing the peroneus longus, also called the fibular tendons. 01:45 And again, a person will have discomfort by doing resisted eversion. 01:51 Similarly, I can stress the posterior tibial tendon simply by stretching that tendon so I could, this is passive eversion and passive inversion to accomplish the same thing. 02:02 So let's move on to taking a look at the Achilles tendon and the other structures that are on the back of the foot. 02:09 Now we're going to move in to talking about ankle sprains versus ankle fracture, which is, both of which are relatively common, certainly ankle sprains are. 02:17 And the bedside physical exam is really effective at distinguishing between those two possibilities. 02:22 Remember that a ligamentous strain, a strain of a ligament is actually a micro tear. 02:27 There are tendons or I should say there are fibers within that ligament that have been torn when you quote, sprain your ankle. 02:35 A more severe example, though, is a complete tear of that ligament. 02:38 And usually when a ligament is completely torn, there's significant instability at that joint. 02:45 So what we're doing on the exam is distinguishing between ligamentous laxity because it's torn ligamentous discomfort because it's sprained versus an actual fracture where the ligament has typically also been cut but also there's been some evulsion of the ligament from the bone or even a potentially a break higher up on the fibula or the tibia. 03:08 So I'm going to quickly remind you guys of the ligaments that stabilize the ankle. 03:14 And I'm going to draw your attention in particular to this one. 03:17 This is the interior talofibular ligament. 03:19 This is the most commonly sprained ligaments. 03:22 Then we have our calcaneofibular here and then the posterior talofibular ligament here. 03:28 This is where most ankle sprains happen, it's this guy right there. 03:31 And on the other side, on the medial aspect is the deltoid ligament and you can even tell on this model that that is a ligament that does not kid around. 03:38 It is a very thick, very strong membrane. 03:41 People rarely sprain their ankle medially. 03:44 It's really the lateral aspect with an inversion injury that is most common. 03:49 So orienting ourselves back to Shayla here, this would be the deltoid ligament. 03:54 It's a very strong ligament here, ligamentous attachment that's stabilizing this. 03:58 So I'm unlikely to cause an eversion injury. 04:02 In contrast, on this side of the foot, her ATFL is basically right here. 04:08 Here's her lateral malleolus and it's attaching here on her, basically her tarsal bones. 04:15 That's where the ATFL is, the CFL, calcaneofibular ligament and then the posterior talofibular ligaments back here. 04:23 So to strain that ligament, I can simply do what's called a talar tilt. 04:28 I'm tilting her ankle in this way. 04:30 I'm going to compare one side to the other. 04:32 When a ligament is completely torn, you'll have a soft end point. 04:37 It's the phrase that we would use because there's no ligament there so I can basically just continue to invert her foot and it would only stop when some other ligaments started to get involved. 04:48 If somebody has an intact ligament, there will be a hard stop. 04:50 And I can feel that in her case right there, I can't go any further. 04:54 It came to a hard stop. 04:56 And whenever we're assessing ligaments, as we'll do for other joints, you're looking for a hard stop to make sure that ligament is intact, I t's like the tether has reached its length and that's that's it. 05:04 They don't really stretch very much. 05:07 The other thing you can do to assess for the integrity of particularly the ATFL and the calcaneofibular ligament is called a 'drawer test'. 05:16 Well, we have a knee anterior drawer and we also have an ankle anterior drawer. 05:20 And I'm pushing down on her tibia and pulling forward with her heel to test the integrity of the ATFL in particular, because the ATFL again here is preventing anterior translocation of the foot relative to the tibia. 05:40 So if a person has tenderness in that area and also has pain when I do talar tilt whether or not they have laxity or not, that suggests a typical sprain of the ATFL. 05:52 So now that we've reviewed the different types of ligamentous sprains, we're now going to look at the possibility of a fracture that could be occurring along with the sprain. 06:01 Fortunately, there's a very well validated instrument that has been designed called the Ottawa Ankle Rules. 06:07 They were made up in Ottawa, Canada, and they are designed to be a simple examination tool that allows us to eliminate or dramatically reduce the possibility that there's a fracture. 06:17 So we don't need to get plain films to do any further investigation. 06:21 It's composed of four specific points that I'll show on this model. 06:25 Two in the midfoot and then two in the hind foot. 06:28 The two in the midfoot are here, the 5th metatarsal. 06:33 Here is the navicular bone, and then it's the posterior distal 6 centimeters of the tibia and the fibula. 06:43 Not the anterior portion, just the posterior portion. 06:46 And that's important because you can imagine if somebody has an ankle sprain, well, guess what, they're going to have tenderness here because that's where the ATFL is. 06:53 So it really has to be posterior tenderness that would precipitate a positive Ottawa ankle rule test that would lead you to getting an X-ray. 07:03 So let's demonstrate those sections on our patient. 07:07 All right, Shayla. 07:08 So again, this is the navicular bone. 07:10 There's a bony prominence that you could feel about halfway between the calcaneus and the first MTP. 07:16 Here is her 5th metatarsal and all I'm doing is palpating the back of the malleoli because those malleoli are the fibula on this side, I'm sorry, the tibia on this side and the fibula on this side. 07:32 So just the posterior aspect. 07:34 If a patient has any one of those things, that's positive, and then one more criteria. 07:40 If the patient was non-weight bearing at the time of the injury and when they present to the emergency room. 07:45 If they're not able to weight bear and any one of those points is positive. 07:48 Case closed. 07:49 Get some plain films and see what you find. 07:53 All right, so that's everything about sprains and fractures. 07:58 Let's look at some other common diseases of the foot. 08:01 We'll start with plantar fasciitis. 08:04 So the plantar fascia is the fascia, which is a very fibrous tendinous structure, that connects the front, the metatarsals here all the way with the calcaneus and the insertion of the plantar fascia is right here at the base of the calcaneus. 08:19 Let me just take a quick look at our model here to show this. 08:23 So, again, this is actually a right foot, not a left foot. 08:27 Here's the plantar fascia and it connects here. 08:29 You can see this little red area here, which marks the insertion of the calcaneus or into the calcaneus and you'll note that it's somewhat medial on the calcaneus. 08:37 And this little part of the calcaneus is called the calcaneal tubercle. 08:42 So that's the most likely sensitive spot for plantar fasciitis. 08:46 So you're going to want to push on that area and see if it reproduces the patient's pain. 08:49 And lastly, since it's this structure that is causing the patient's pain by trying to tense that structure, by stretching it, you'll hopefully reproduce their symptoms and make it more clear as to what's causing their pain. 09:02 So that's called the 'Windlass mechanism test', where I simply pull up on the great toe, so I'm dorsiflexing the toe and if that reproduces their pain, that would support the diagnosis of plantar fasciitis. 09:17 Next up, we're going to look at the tarsal tunnel, so I'm going to pull out my model yet again. 09:22 The tarsal tunnel is on the medial aspect of the foot, and it describes similar to the carpal tunnel. 09:28 It's a small area where a number of structures are running through it, including your posterior tibial artery. 09:36 We already talked about your tibialis posterior tendon. 09:39 There are veins running through there and in particular there's the posterior tibial nerve. 09:45 Now, patients who have neuropathy involving the posterior tibial nerve similar to a carpal tunnel type neuropathy, a median nerve neuropathy are essentially having an ischemic neuropathy. 09:56 There's a problem with a blood supply to that nerve because there's too much inflammation in a very tight space called the tarsal tunnel. 10:03 That nerve is then diving down underneath the foot and innervating other parts of the on the plantar surface of the foot and so patients with tarsal tunnel syndrome report a burning sensation or paresthesias, numbness, tingling, etcetera on the bottom of the foot. 10:18 Well, just like with carpal tunnel syndrome where we tapped on that called the 'Tinel's sign', you can also do a Tinel's sign on the tibial tunnel. 10:27 It's running just posterior medial to the medial malleolus and you're just going to tap on that area to see if that reproduces this patient's pain. 10:39 So here's the insertion of her gastrocnemius tendon, forming her Achilles tendon and plugging into the top of the calcaneus. 10:47 Take note that in this area, patients can have pain for three different reasons. 10:51 It could be Achilles tendinopathy and so they should really have pain on the Achilles tendon itself, or they could have pain at the insertion. 10:59 And when there's discomfort or even swelling and warmth in that area, we think about enthesitis, which is a manifestation potentially of reactive arthritis and some of the other spondyloarthritides or it could be just retrocalcaneal bursitis. 11:13 There is a Bursa that lies just deep to the insertion of the Achilles tendon. 11:19 And when the bursa gets inflamed, oftentimes by wearing shoes that are too tight or shoes that have a very firm rage posteriorly or wearing high heels, those kinds of things, the bursa can get inflamed and simply wearing flip flops for a week will typically make that go away. 11:35 But the patient would have tenderness right there over the retrocalcaneal bursa. 11:40 The last thing I just wanted to highlight is patients who do have suspicion for an Achilles tendon tear, Achilles tendon rupture sometimes we say. 11:51 There's a quick bedside test for that as well, it's just called the 'calf squeeze test'. 11:55 Since the gastroc essentially plantar flexes the foot. 11:59 If I just squeeze the gastroc, you'll note that her foot dorsiflexes or plantarflexes on the left. 12:06 As long as it looks the same on the right, you can confidently say this patient does not have a ruptured Achilles tendon. 12:12 You can do that in this position or you can have the patient lying prone and have their knee up in the air as well to get an even more grossly visual result.
About the Lecture
The lecture Examination of the Foot and Ankle by Stephen Holt, MD, MS is from the course Examination of the Lower Extremities.
Included Quiz Questions
What are the Ottawa ankle rules?
- A set of guidelines to help decide if a patient with ankle pain needs an X-ray for the diagnosis of a possible bone fracture
- A means of diagnosing Achilles tendinitis
- A way to evaluate for plantar fasciitis
- A set of rules on how to perform an ankle examination
- A set of rules to determine if a patient has an anterior talofibular sprain
Which structure(s) is/are involved in plantar flexion of the ankle?
- Achilles tendon
- Peroneal longus and brevis tendons
- Posterior tibial tendon
- Anterior talofibular ligament
- Calcaneofibular ligament
A patient with a foot drop/weakness in dorsiflexion may have which condition?
- L4 radiculopathy
- Achilles tendon rupture
- Anterior talofibular ligament rupture
- L5/S1 radiculopathy
- Plantar fasciitis
What does a "talar tilt test" revealing no hard stop in the inversion of the ankle indicate?
- Lateral ankle ligamentous tear
- Medial ankle ligamentous tear
- Achilles tendon rupture
- Plantar fasciitis
- Tarsal tunnel syndrome
What does the "anterior drawer test" in the ankle evaluate for?
- Anterior talofibular ligamentous integrity
- Calcaneofibular ligament sprain
- Plantar fasciitis
- Tarsal tunnel syndrome
- Achilles tendon rupture
What is TRUE regarding tarsal tunnel syndrome?
- It causes burning pain from the medial ankle to the sole of the foot.
- It is a result of median nerve compression.
- It is caused by an inversion ankle sprain.
- It is caused by inflammatory arthritis.
- It is diagnosed based on an abnormal "calf squeeze" test.
Author of lecture Examination of the Foot and Ankle

Stephen Holt, MD, MS
Customer reviews
4,0 of 5 stars
| 5 Stars |
|
0 |
| 4 Stars |
|
1 |
| 3 Stars |
|
0 |
| 2 Stars |
|
0 |
| 1 Star |
|
0 |
1 customer review without text
1 user review without text
